
More Photoshop Skills
This is part of the Key Stage 3 Photoshop Workshop. There's so much cool Photoshop stuff that it seems to need at least two pages...
Fading an Image
 Fading an image from Black and White to Colour is an interesting skills that's easy to get the hang of.
This uses an adjustment layer and then makes use of the Gradient Tool. It's important to think about which direction you want to create the gradient in and how long you want the gradient to be – this takes some trial and error.
It's worth knowing that you can start or finish your gradient tool drag with the mouse off of the actual image. This can produce exactly the effect you're looking for sometimes.
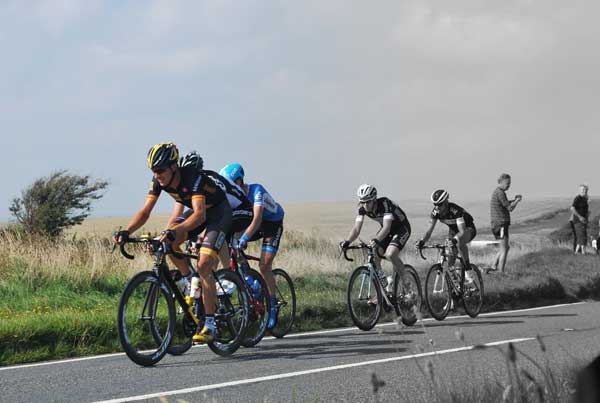
![]() Fading an Image to Black and White
Fading an Image to Black and White
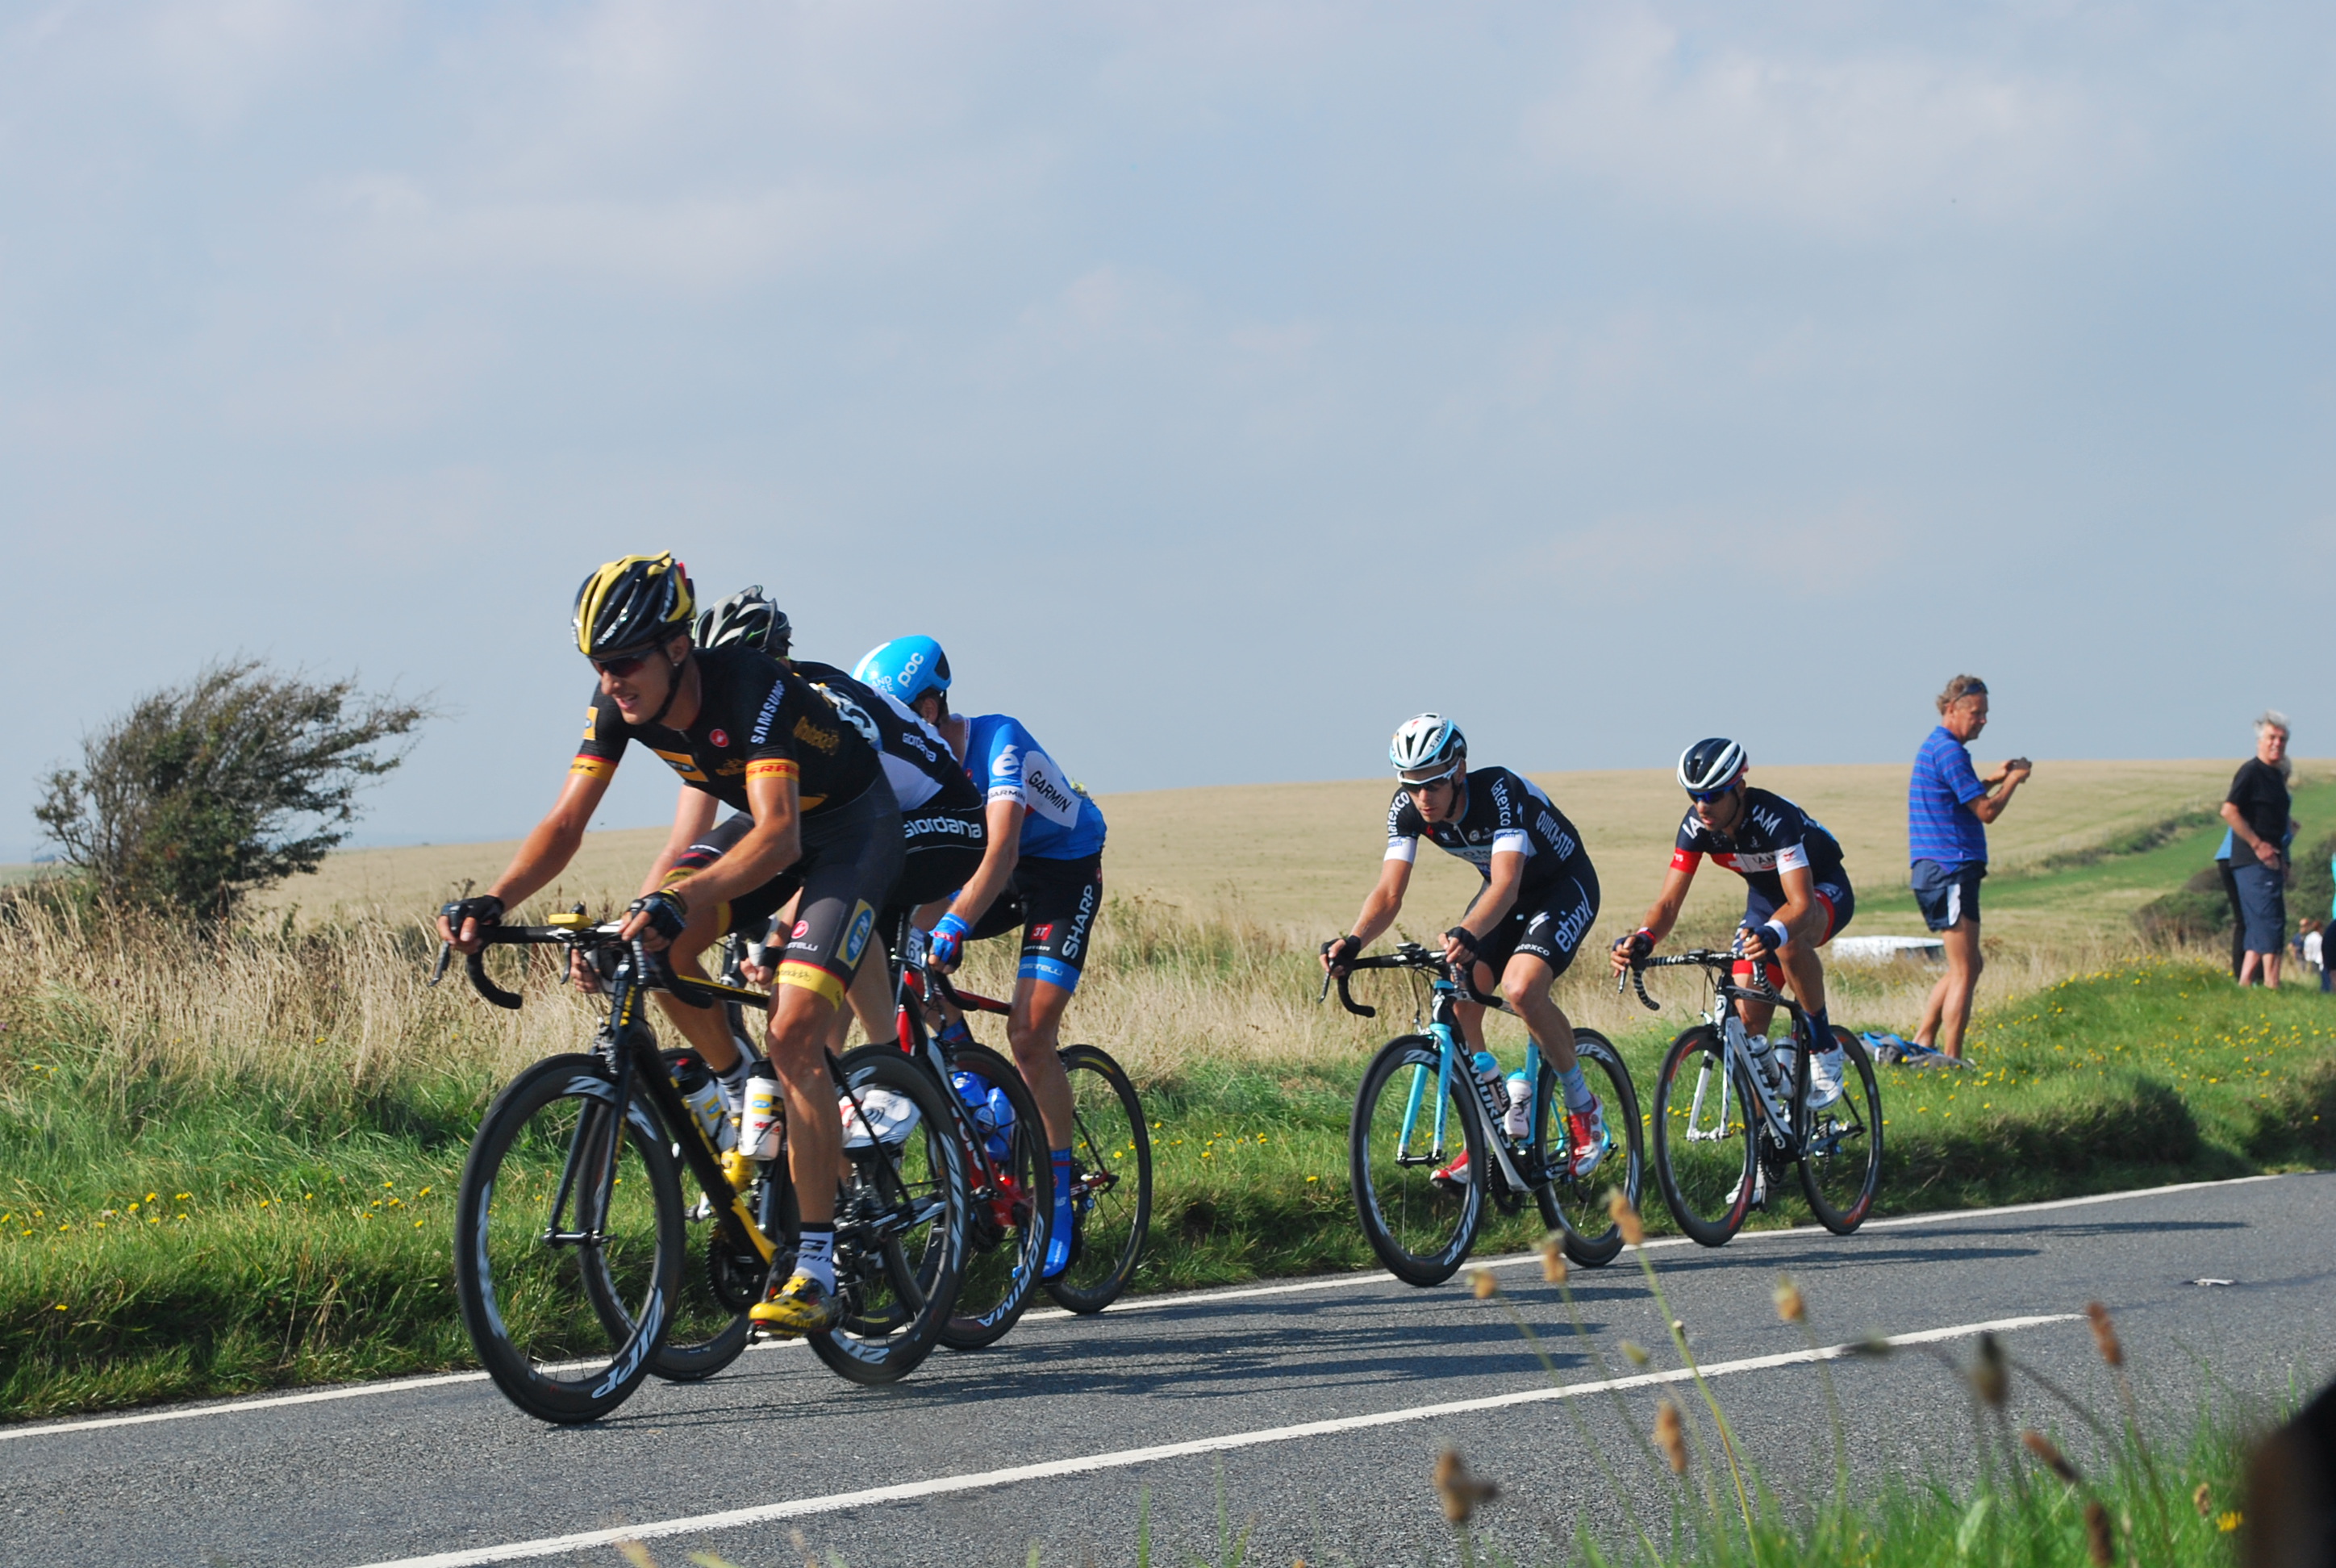
![]() Cycle race image – right click and save the image
Cycle race image – right click and save the image
The photo was taken along the Tour of Britain cycle race in 2015. I happened to be in the right part of the country on the right day.
Making a new photo look old
 It's possible, with a little skill, to use layers and filters to make an image look like it's one that was taken many years ago.
This technique adds a sepia tone to an image by using two layers. Sepia is the name given to the brown colour. This was used to make black and white photos last longer in the early days of photography.
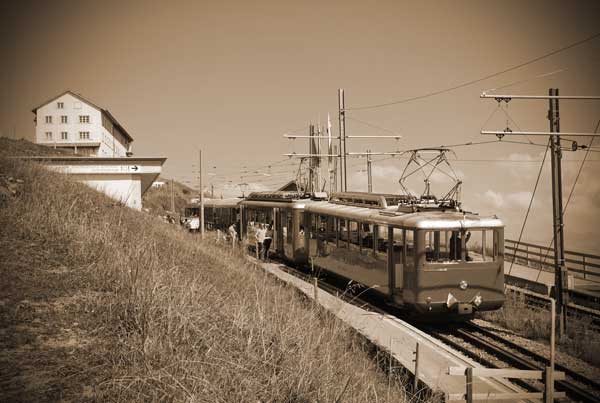
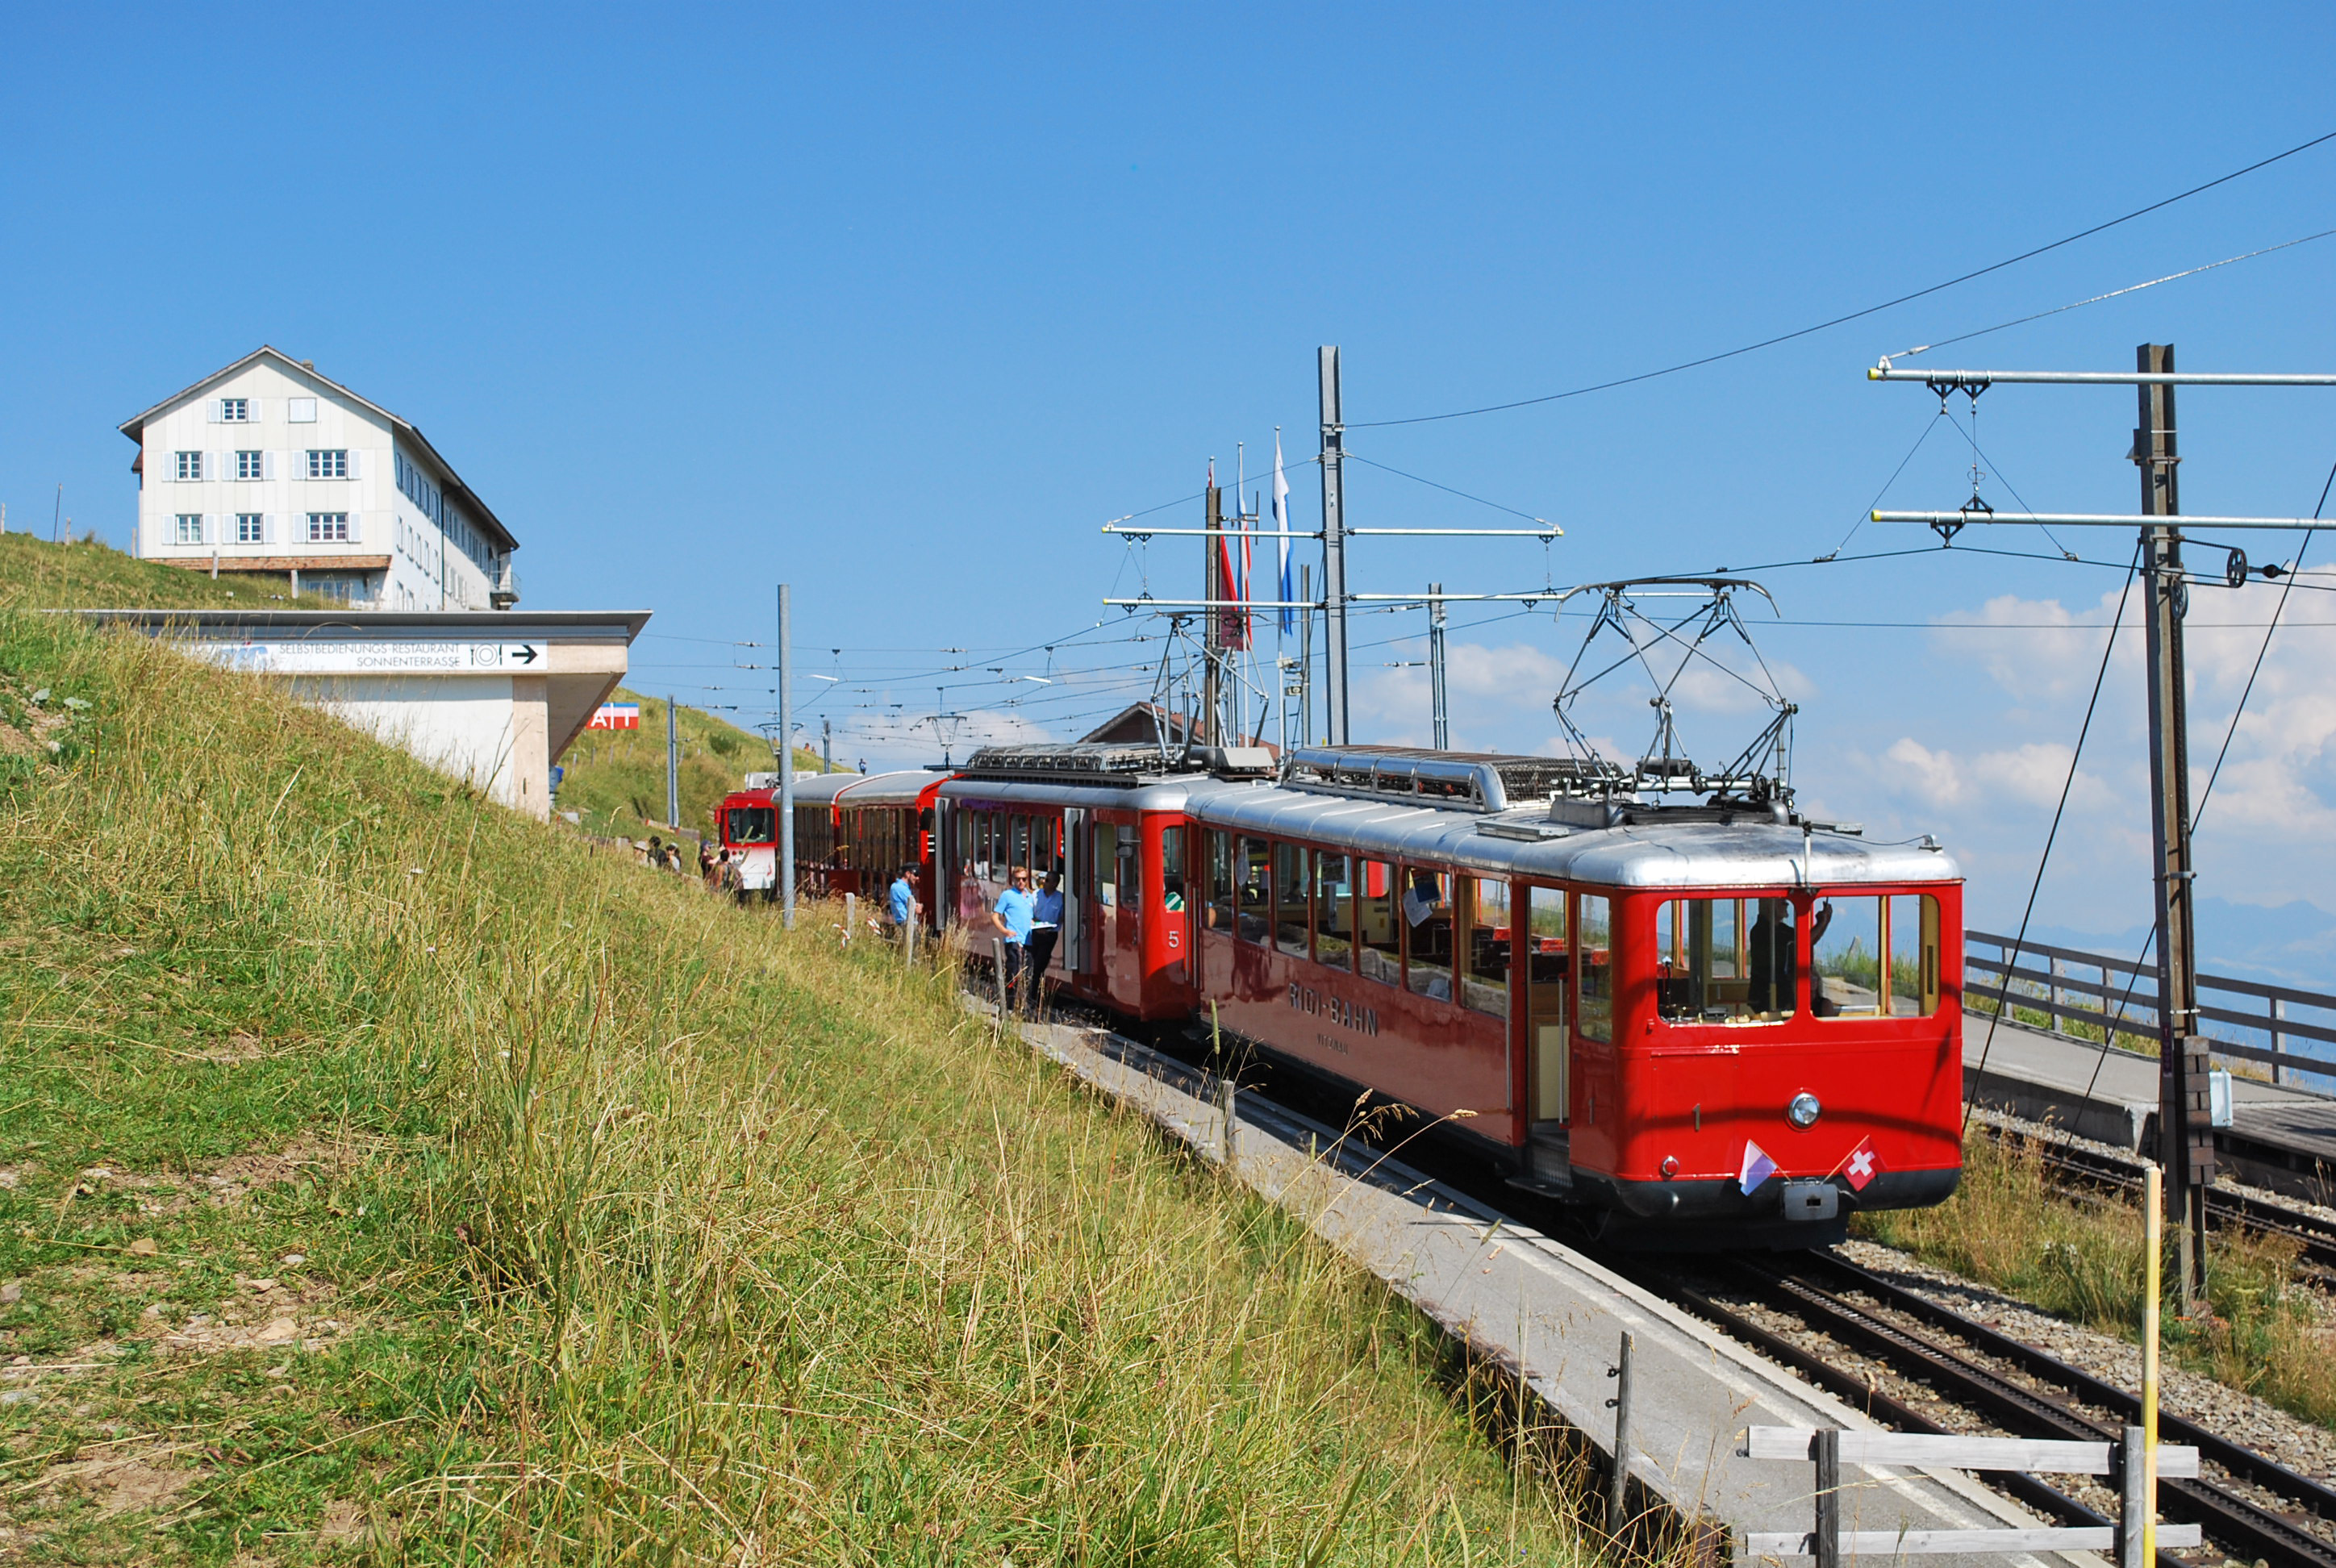
![]() Rigi Bahn train image – right click and save the image
Rigi Bahn train image – right click and save the image
The photo is of a mountain railway in Switzerland. As well as a sepia image, you can also create a faded colour image that I think is similar to the photos I remember from the 1970s.
Using Adjustment Layers
 Its better to make adjustments to images using adjustment layers. This doesn't destroy the original image, which means you can always remove an adjustment layer and go back and start again.
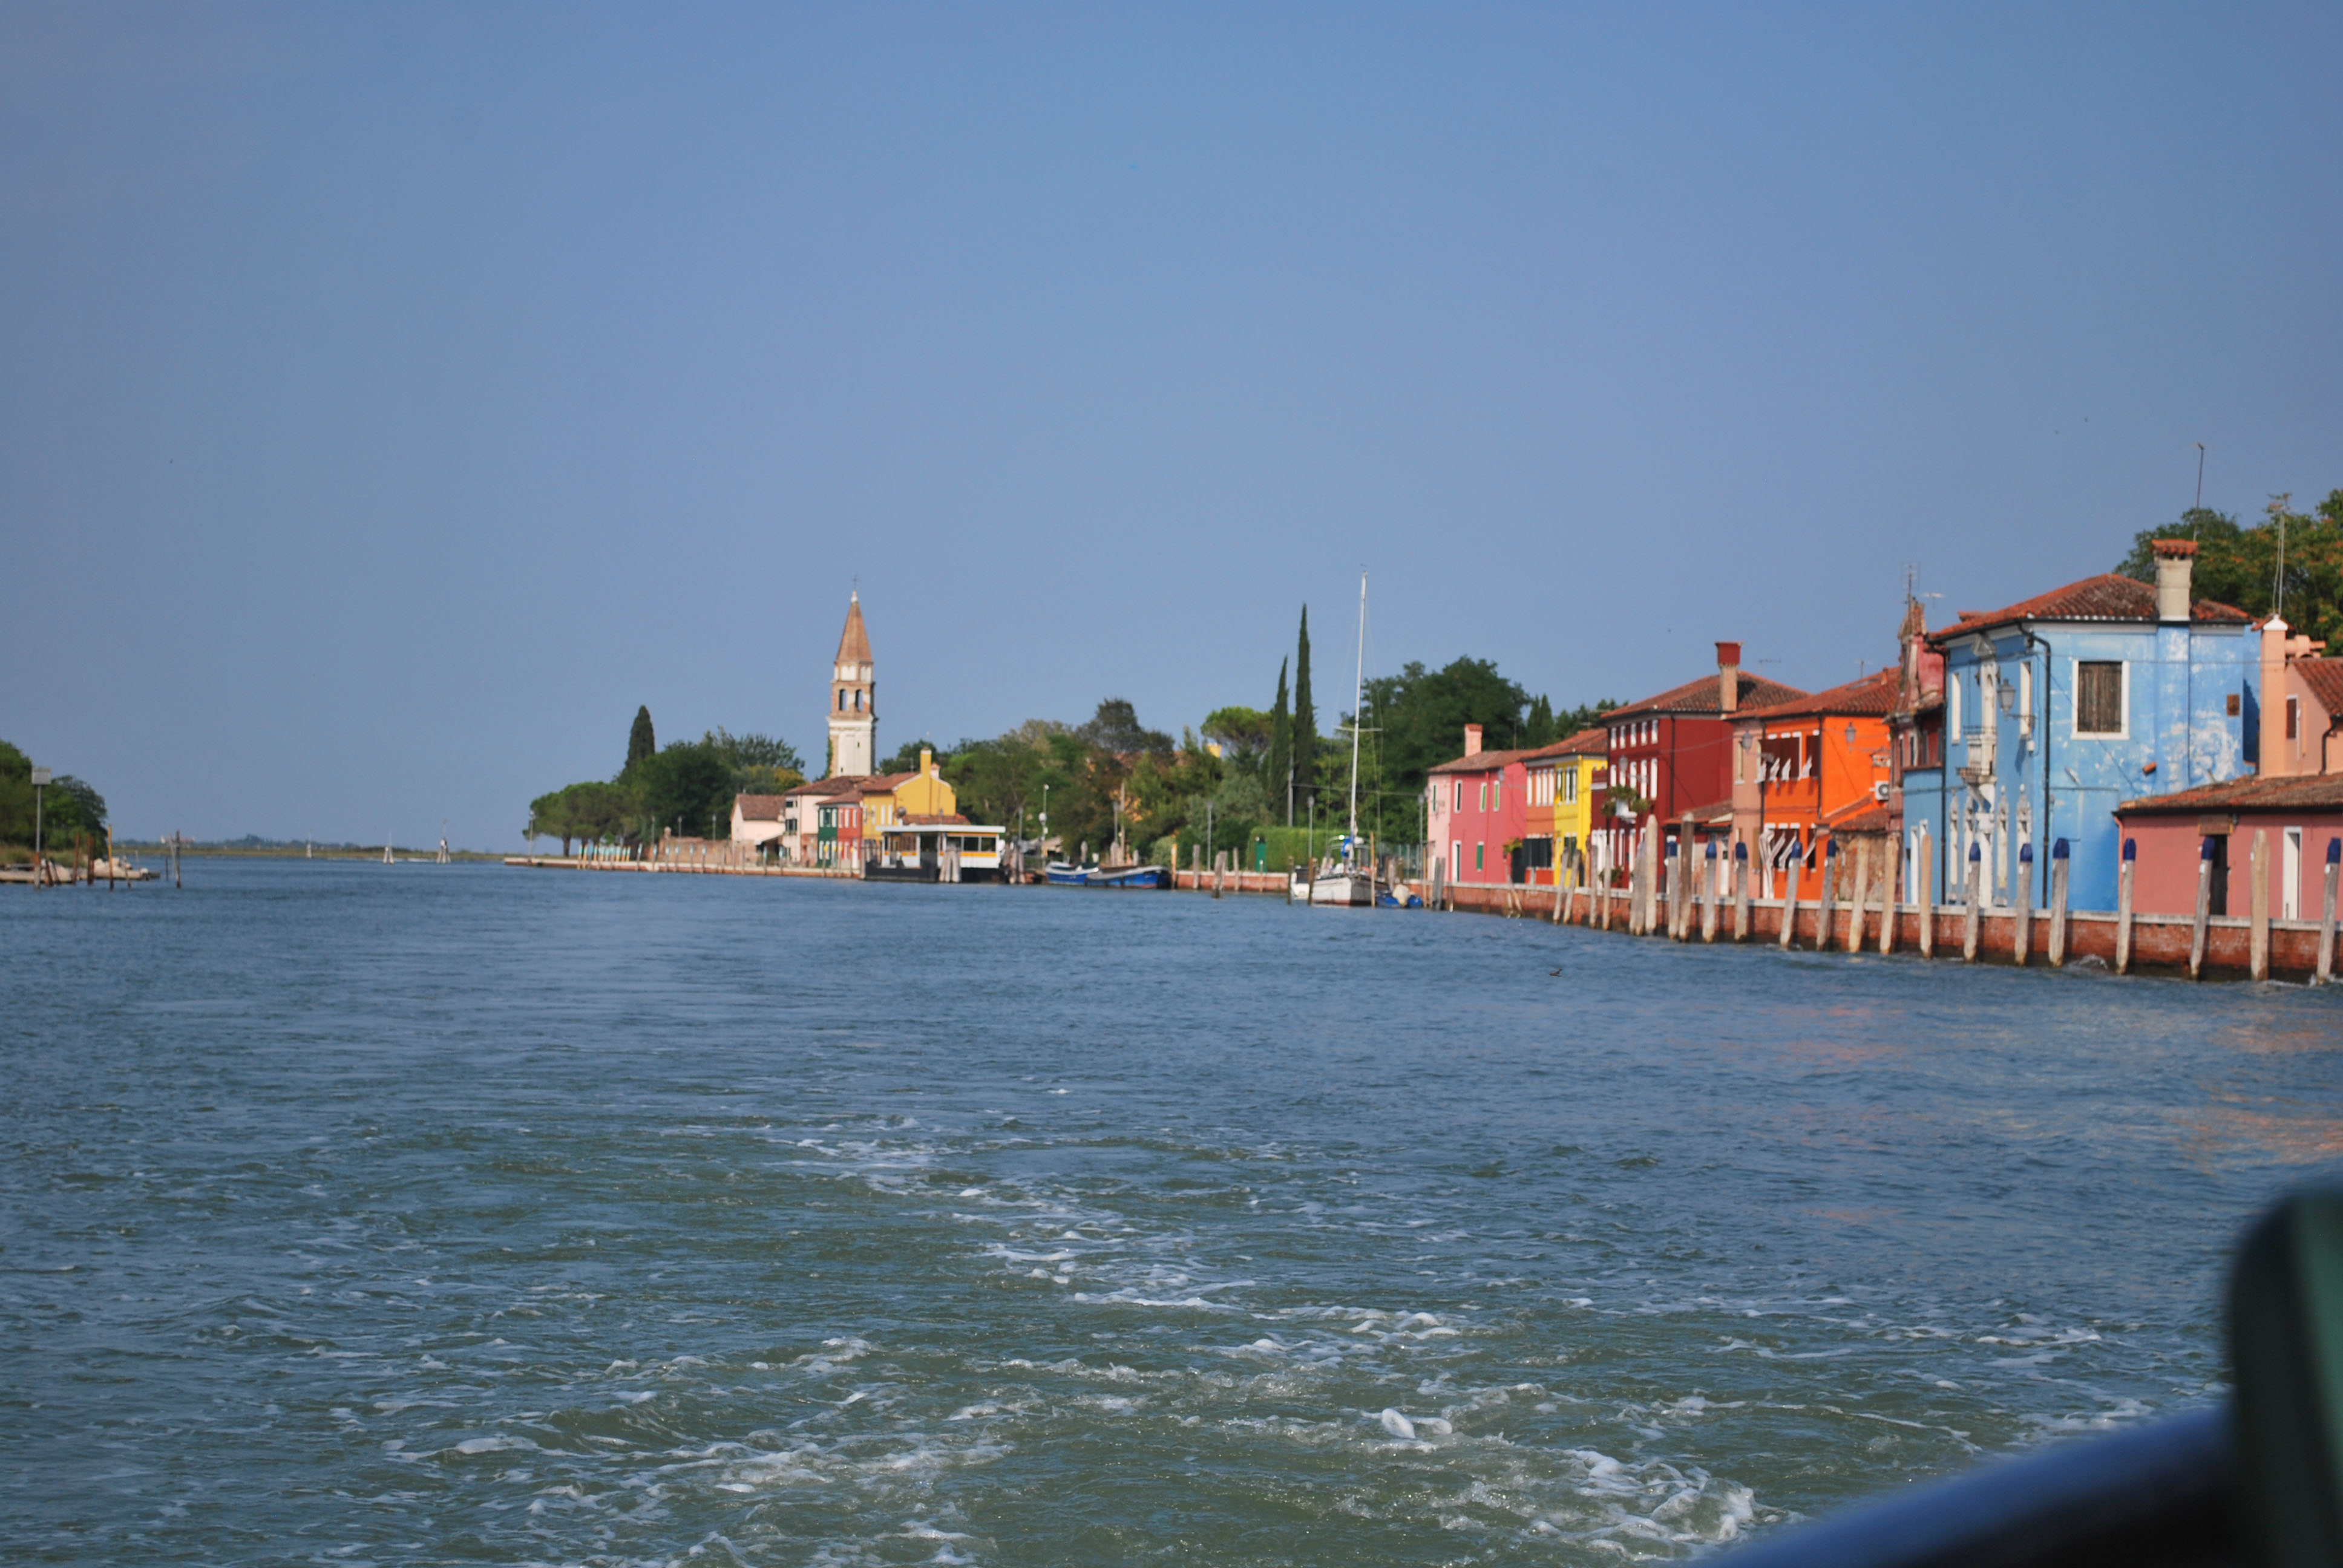
![]() Venice image – right click and save the image
Venice image – right click and save the image
This image needs lots of work. It needs to be straightened and cropped using the Rule of Thirds. You might also need to use the Clone Tool or Spot Healing Brush on parts of the image to improve it as well.
More selective colour options
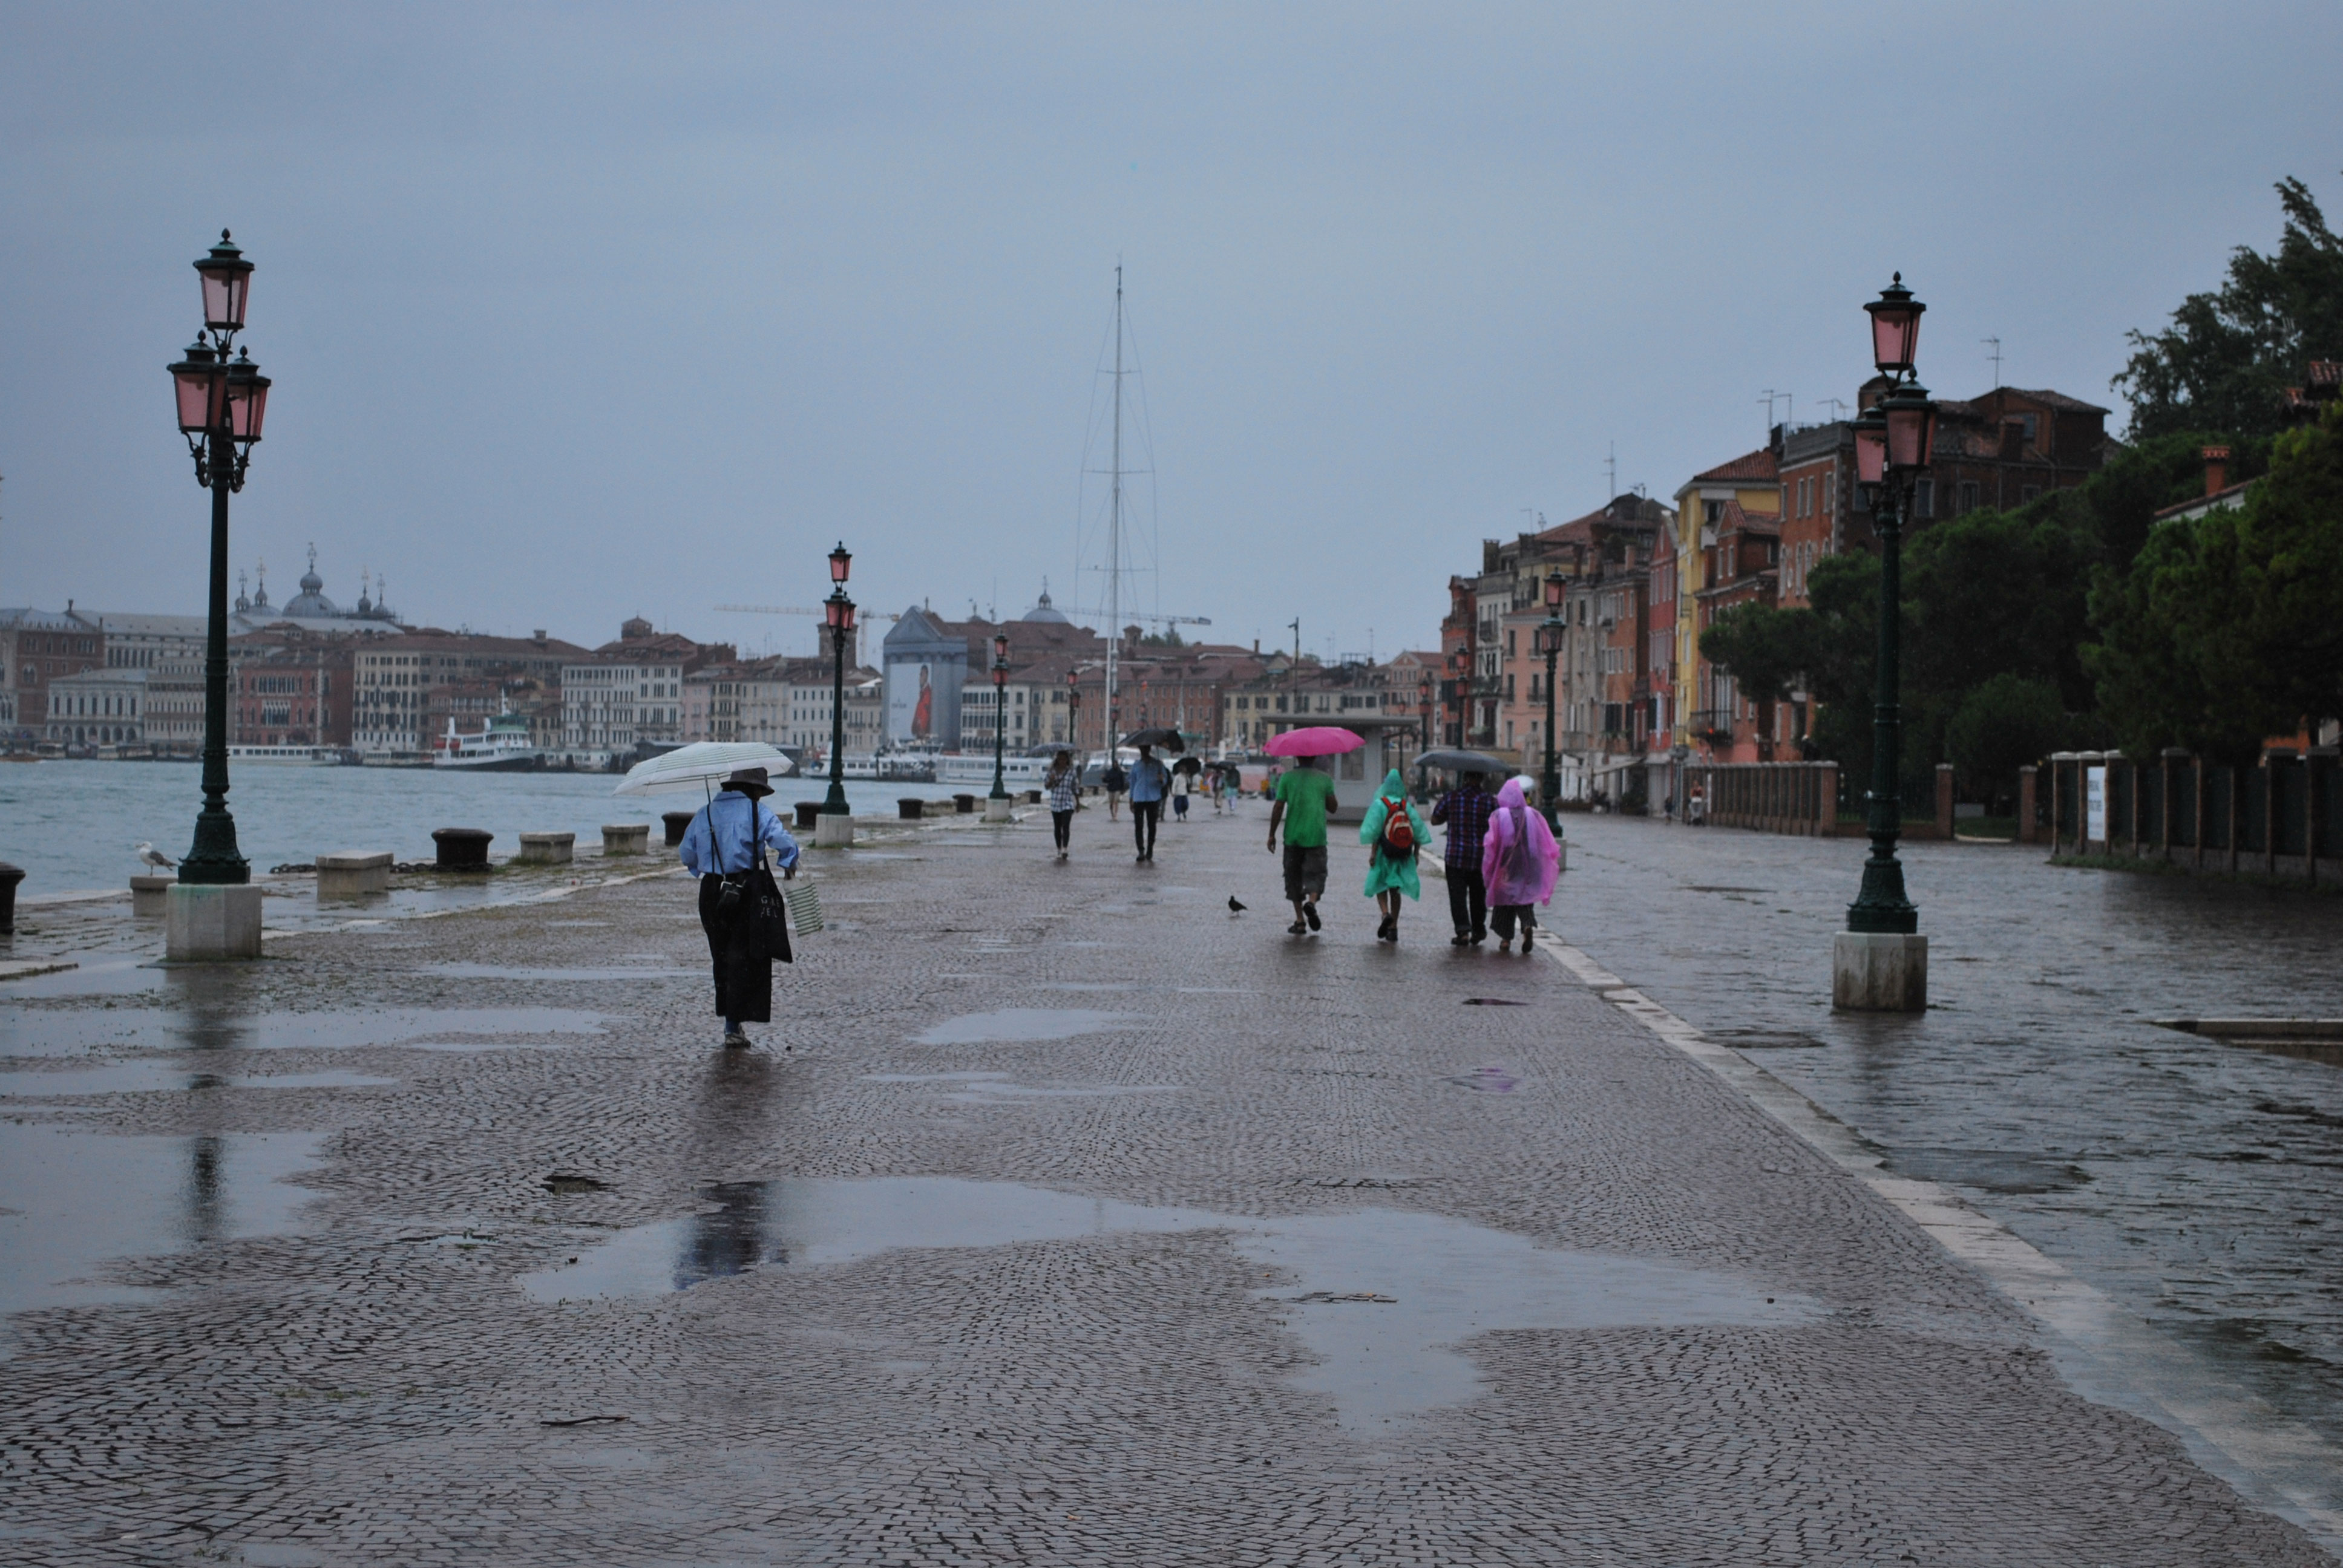
 I was playing around with selective colour, using this image that I took on a very rainy day in Venice back in 2019.
You might want to try out selective colour techniques using it.
The guide is written using the Ducks image as the starting point, but I think this is a better image to use actually. I might re-write the guide at some point.
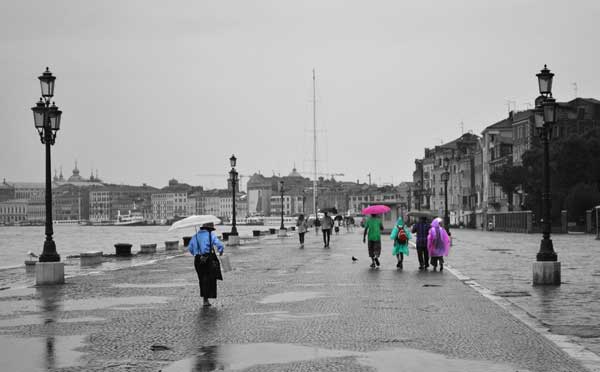
![]() Venice in the rain image – right click and save the image
Venice in the rain image – right click and save the image
You can do this with lots of different images. It seems to be done most frequently with red. I guess this is because it's a rare natural colour and tends to be linked with passion and excitement so it's quite a powerful colour.
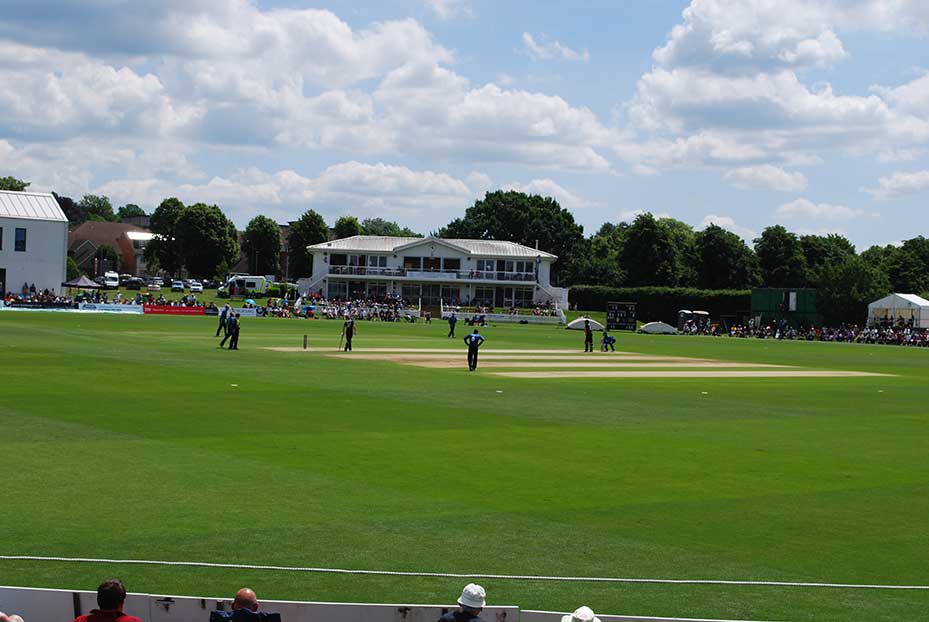
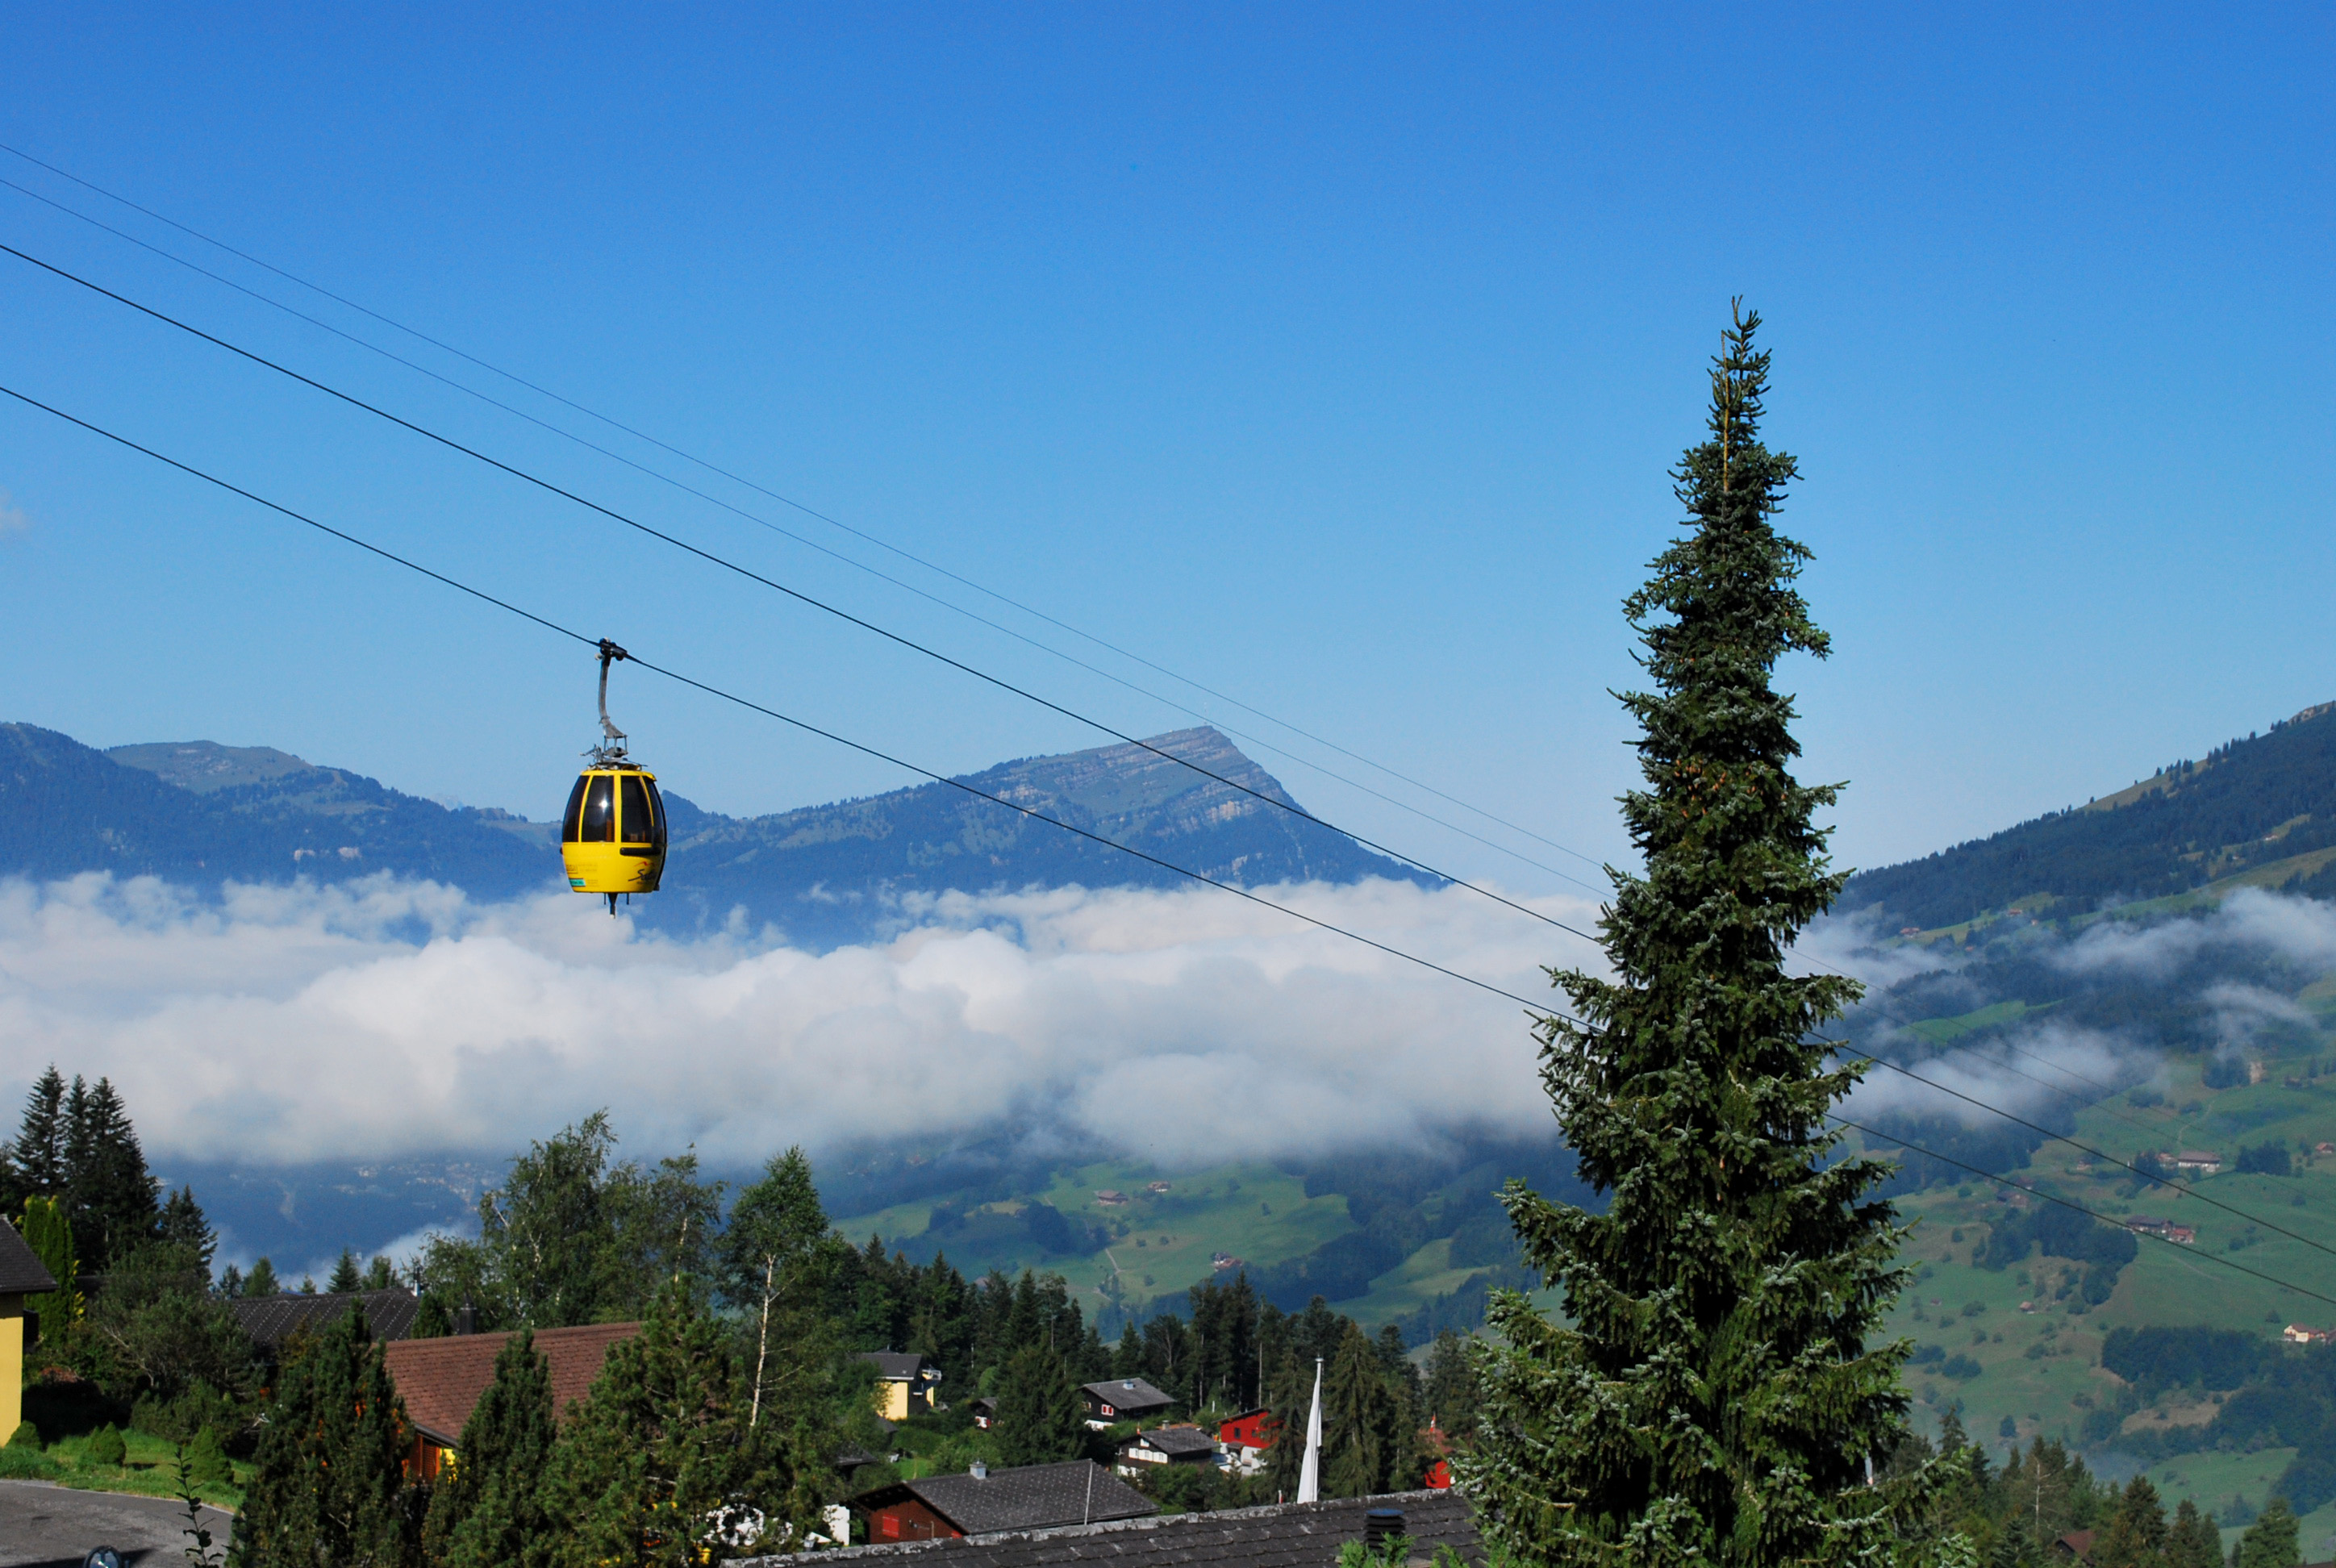
Other Images
These three images are ones that could be used for a variety of purposes.
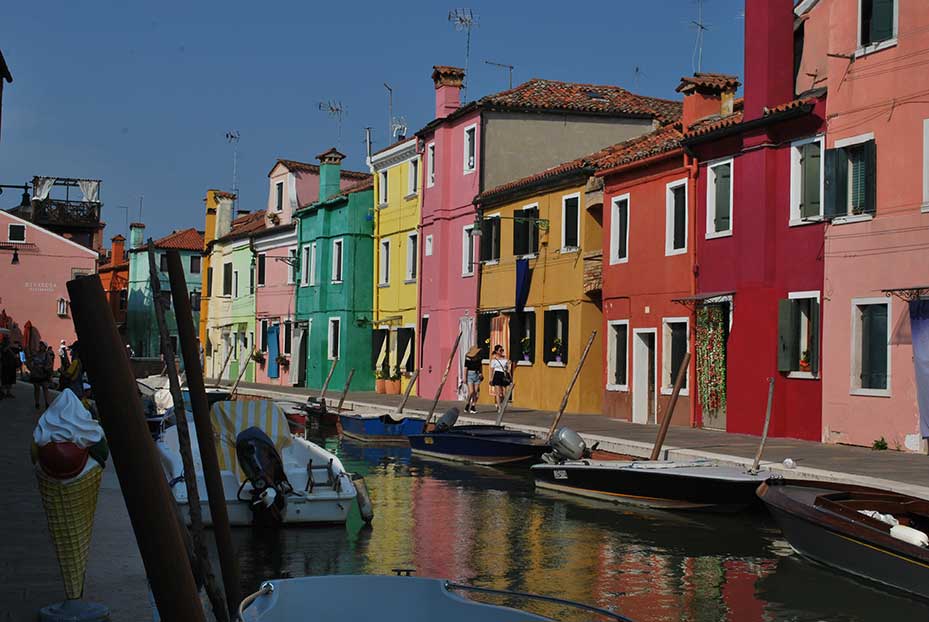
![]() Coloured houses in Venice image – right click and save the image
Coloured houses in Venice image – right click and save the image
![]() Cricket match image – right click and save the image
Cricket match image – right click and save the image
![]() Cable car image – right click and save the image
Cable car image – right click and save the image